Fingerloop
braid: Two Strings At Once
Lady Shannon
inghaen Bhriain uí
Dhuilleaín
shannon.dhuilleain@gmail.com
http://shannonofalltrades.blogspot.com
In
learning and teaching Fingerloop Braid techniques, I have been
heavily influenced by the notations and directions used in Compleat
Anachronist issue #108: Fingerloop Braids.
Each
step in a pattern consists of three essential pieces of information:
the finger moving, the opposing finger being interacted with, and the
nature of that movement and interaction. A few simple shorthand
notations are used consistently throughout the patterns.
First,
the fingers. The pointer, middle, ring, and pinky fingers are labeled
A through D (the thumb is not considered in any pattern I have yet
encountered). The hands are labeled L for left, and R for right.
Therefore, a simple two letter combination tells you precisely which
finger is being discussed.
Fingers
can move through one or more other loops before interacting with the
other hand; these directions will be written out in full in each
pattern.
Loops
may be taken “reversed” or “unreversed.” If it is taken
“reversed,” it winds up on the new finger upside-down or flipped
over, so that the strand that was above is now below.

For
loops taken “unreversed,” the orientation is the same on the new
finger as on the original.

The
pattern we will cover today is “2 Strings Att Once.” A
transcription of the directions was recorded by Greg Lindahl and then
translated into modern English by Zoe Kuhn Williams.
The
Transcription: “To
make 2 strings att once. Take 3 boes on one hand and 2 on the other
then worke through both boes taking the top of the loer fingers
alike.”
The
Translation: “To make 2 strings at once. Take 3 bowes on one hand
and 2 on the other then work through both bowes taking the top of the
lower fingers alike.”
Zoe
then provides step-by-step instructions, based on this
translation:
Place 1 bowe each on BCR and ABCL.
Place 1 bowe each on BCR and ABCL.
Move
AR through BCR and take CL UNREV.
Walk
down L bowes.
Move
AL through BCL and take CR UNREV.
Walk
down R bowes.
Repeat.
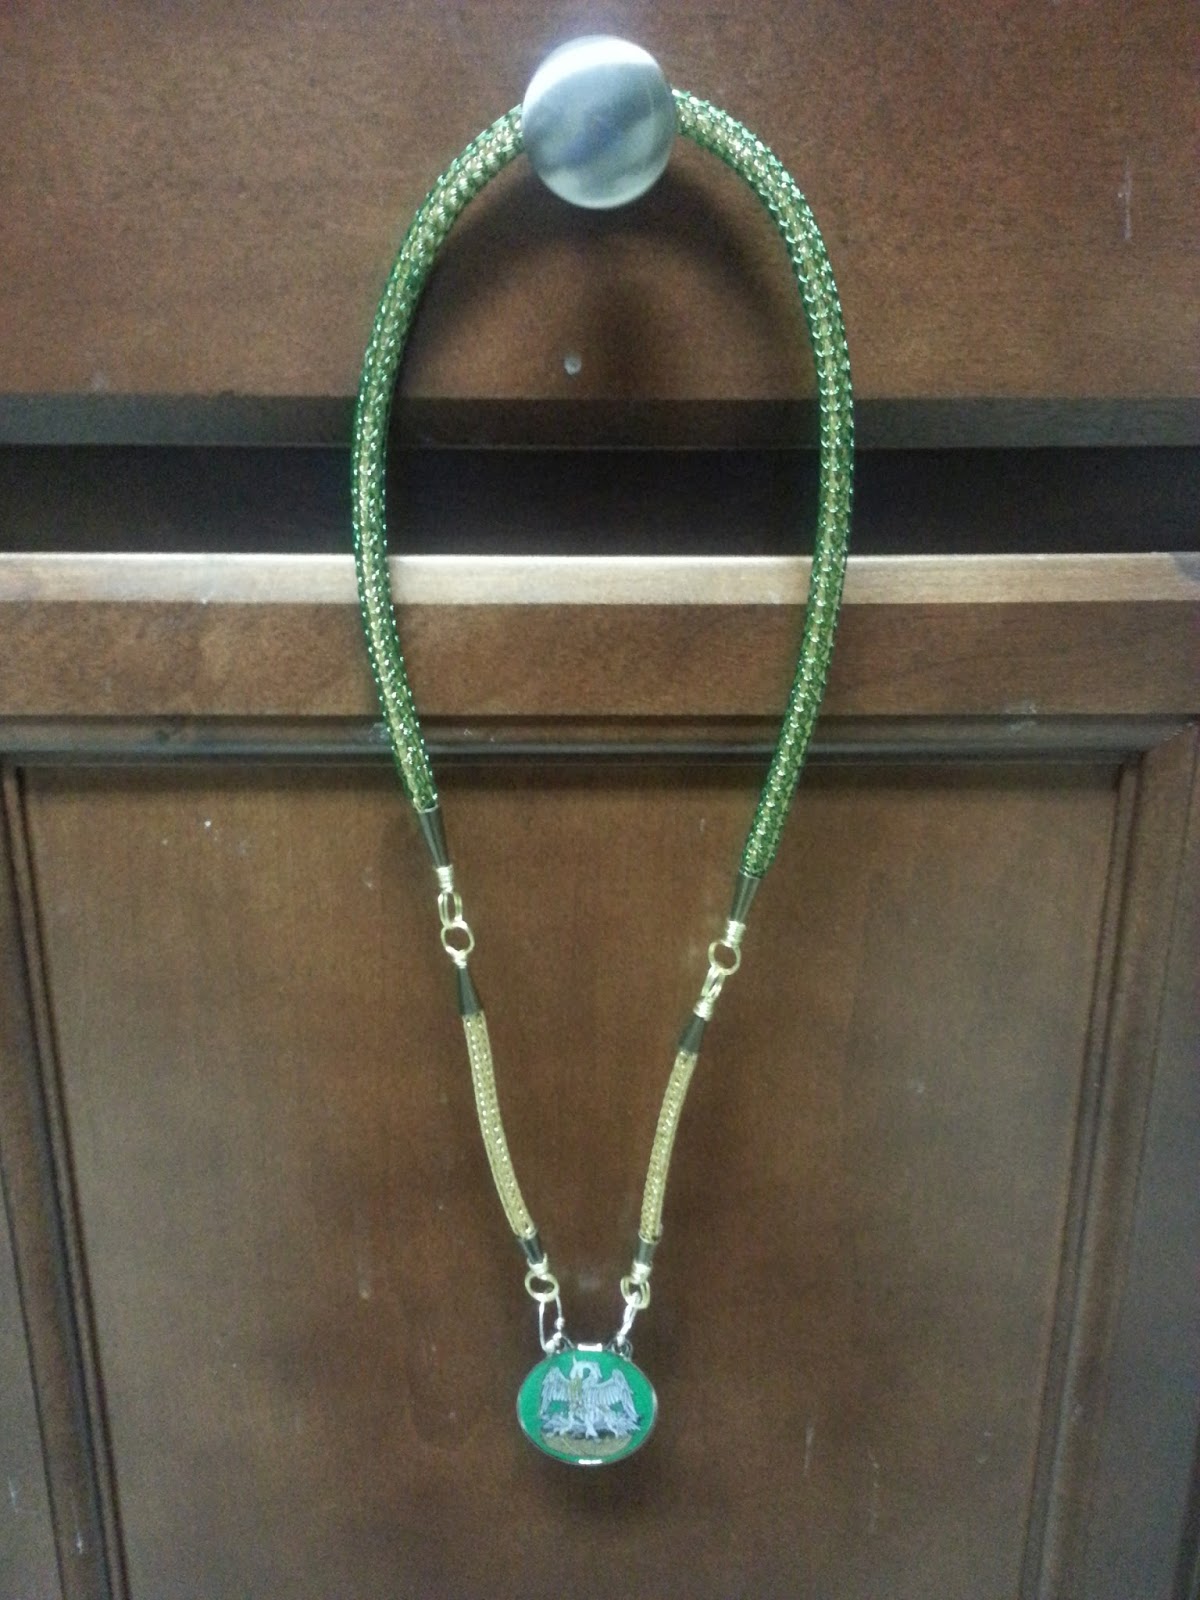
This
pattern can be changed slightly to create a single, thicker string
instead of two thin strings. Instead of taking CL and CR UNREV, you
simply take them REV instead:
Place
1 bowe each on BCR and ABCL.
Move
AR through BCR and take CL REV.
Walk
down L bowes.
Move
AL through BCL and take CR REV.
Walk
down R bowes.
Repeat.
You
can also combine the two patterns to create a string with
buttonhole-like openings along its length. To do this, begin with the
REV pattern for twenty repetitions or so, then switch to the UNREV
for an equal number of repetitions. Continue to alternate until
you've reached your desired length. The actual number of repetitions
in each set will vary depending on how large or small you want the
holes, and how much solid string space you want between them.
Resources
Kuhn Williams, Z., & Swales, L.
(2000, July). Fingerloop Braid. Compleat Anachronist, (108).
Kuhn Williams, Z., & Swales, L.
(n.d.). Fingerloop Braids. Retrieved September 14, 2016, from
http://www.fingerloop.org/


